|
We created multiple prints by creating a design on a linoleum block. I first made my design on a smaller EZ block, and then made it on a larger scale. This is the practice print: 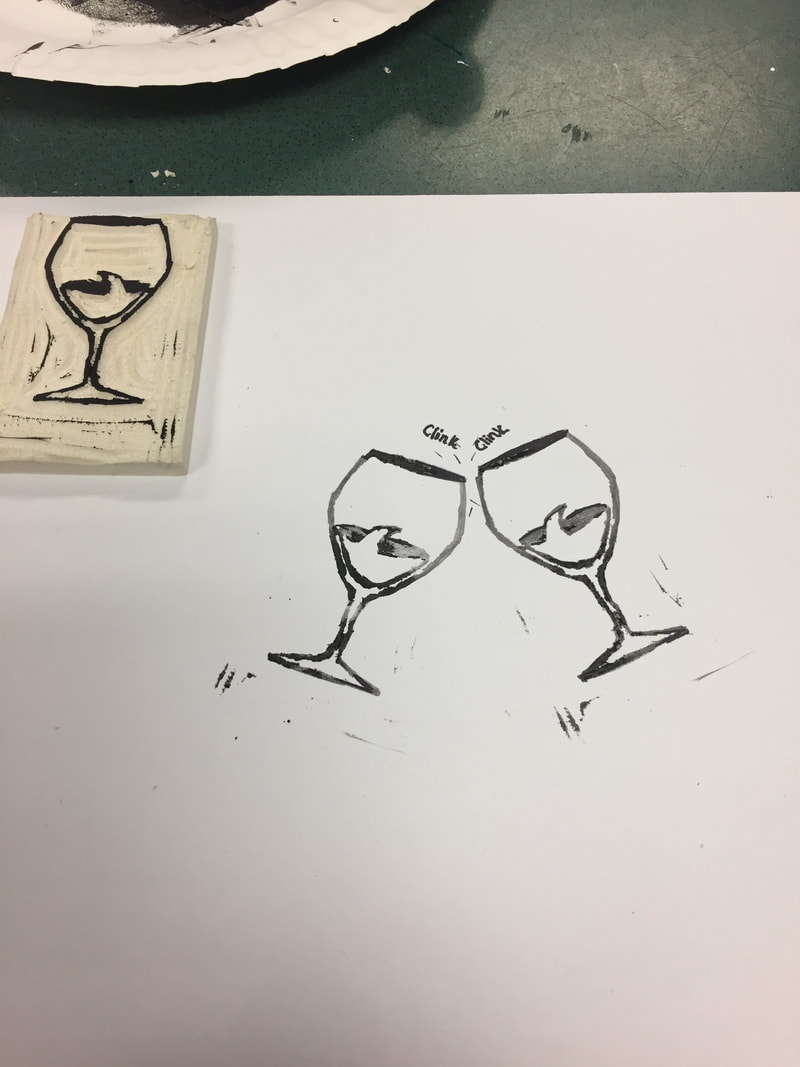 This is the first print from my linoleum block: 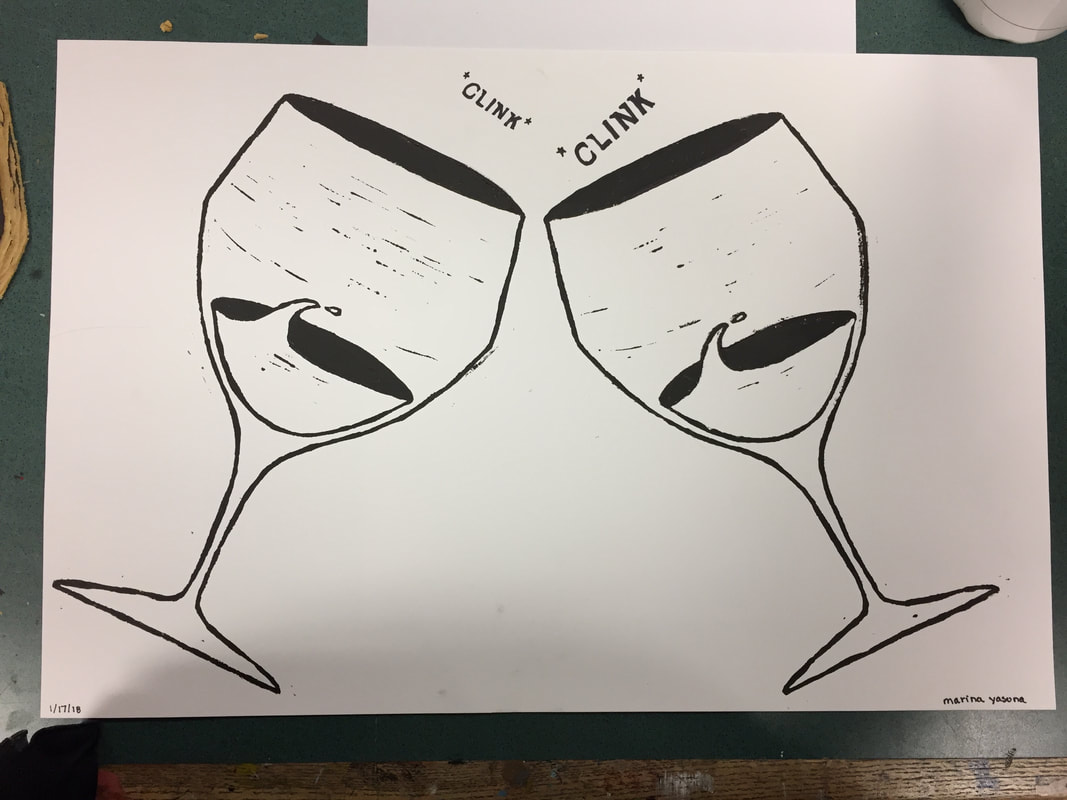  I then experimented by trying different colors and paper: 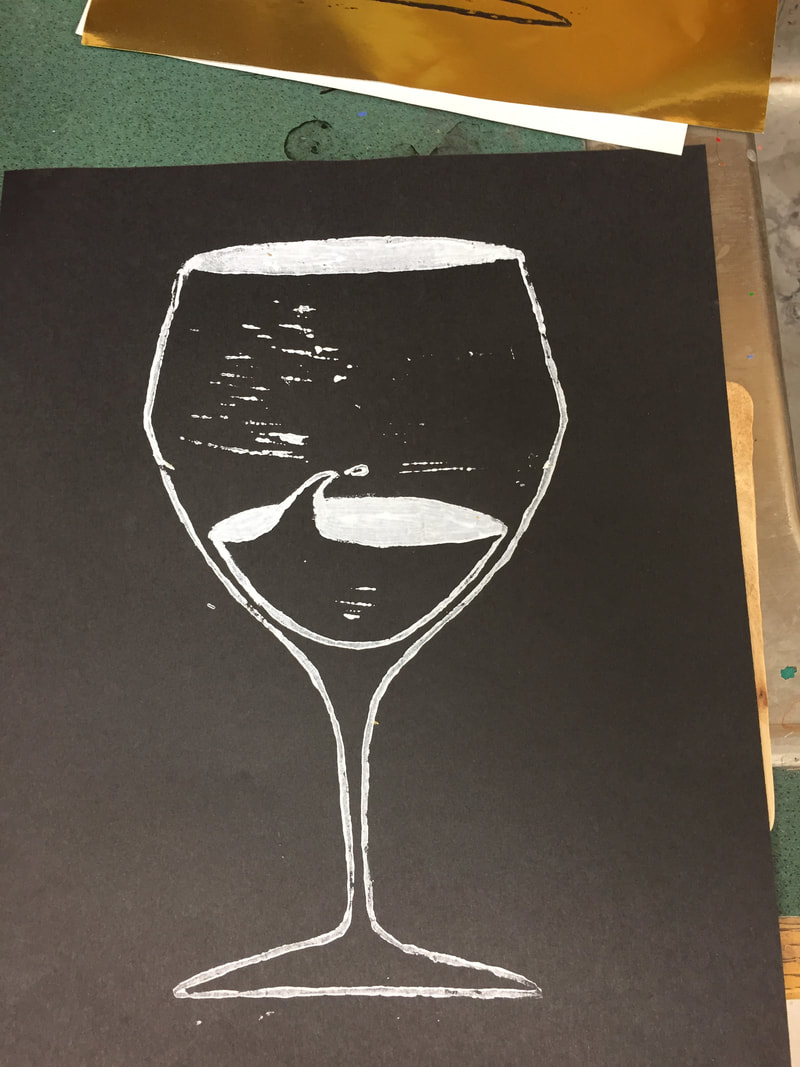 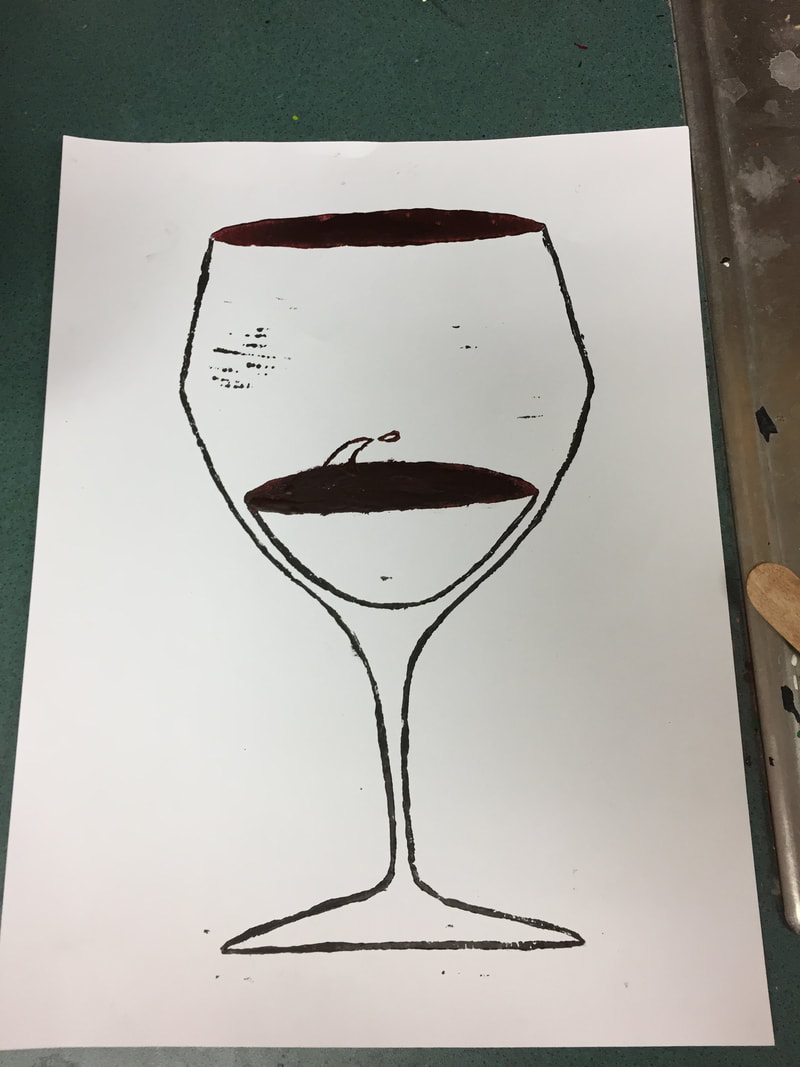 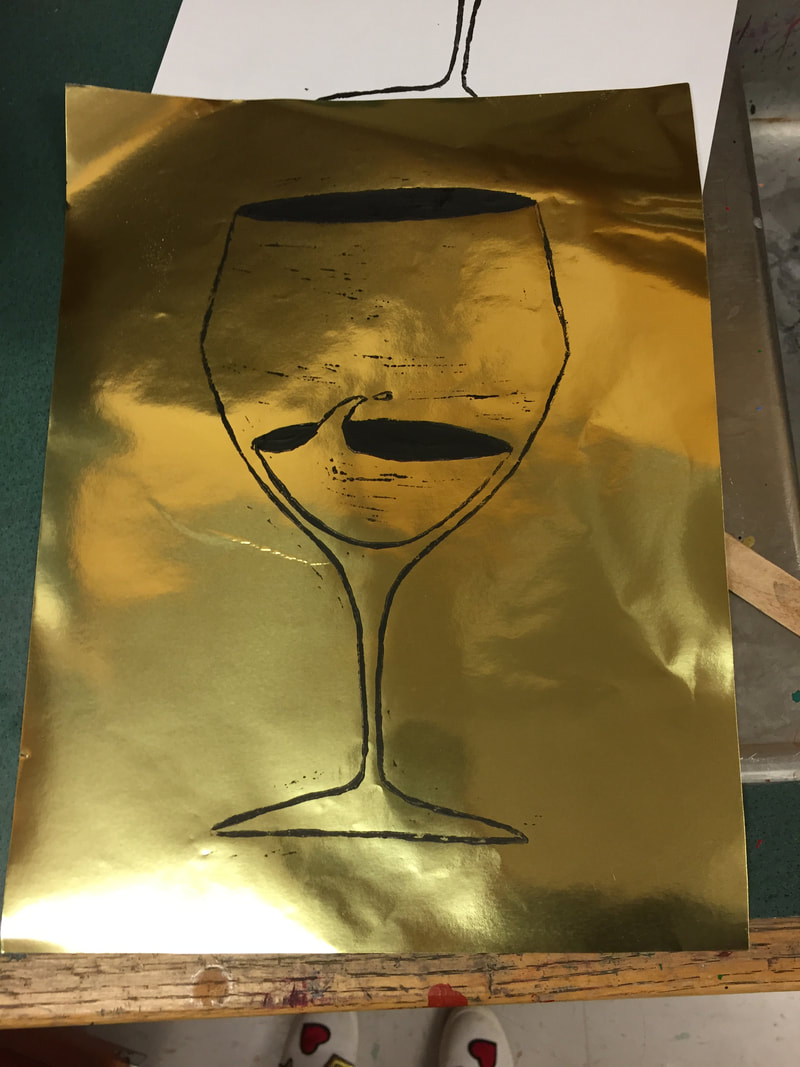 We learned even more artistic behaviors in this lesson. We created original art on the EZ carve and Linoleum. We developed skills from the carving, and we ha to observe and reflect a lot because of hoe everything had to be printed backwards, as well as choosing the correct carving tool. We took risks with the ink, and tried new designs and colors on our prints.
0 Comments
This plate was the first clay project I made in the ceramic unit. We collected real leaves from outside and rolled them into the clay before shaping it into the plate form. When we first put it in the kiln the bisque came out with imprints of the leaves. After glazing and putting it through the kiln again this was the final product. 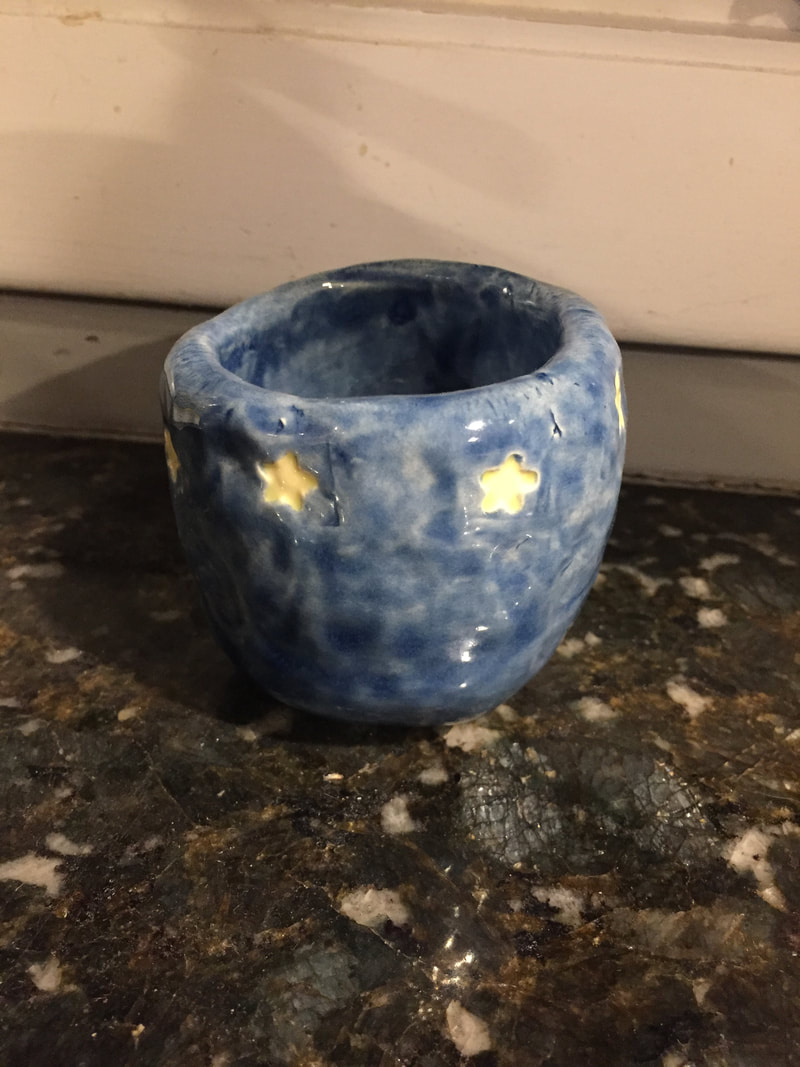 This is a mug I made. The strategy I used was a pinch-pot method. I rolled the clay into a ball then used my thumbs to evenly hollow the inside. I used a stamp to make the star imprints, and used the yellow and blue because it reminded me of a childhood book or story. 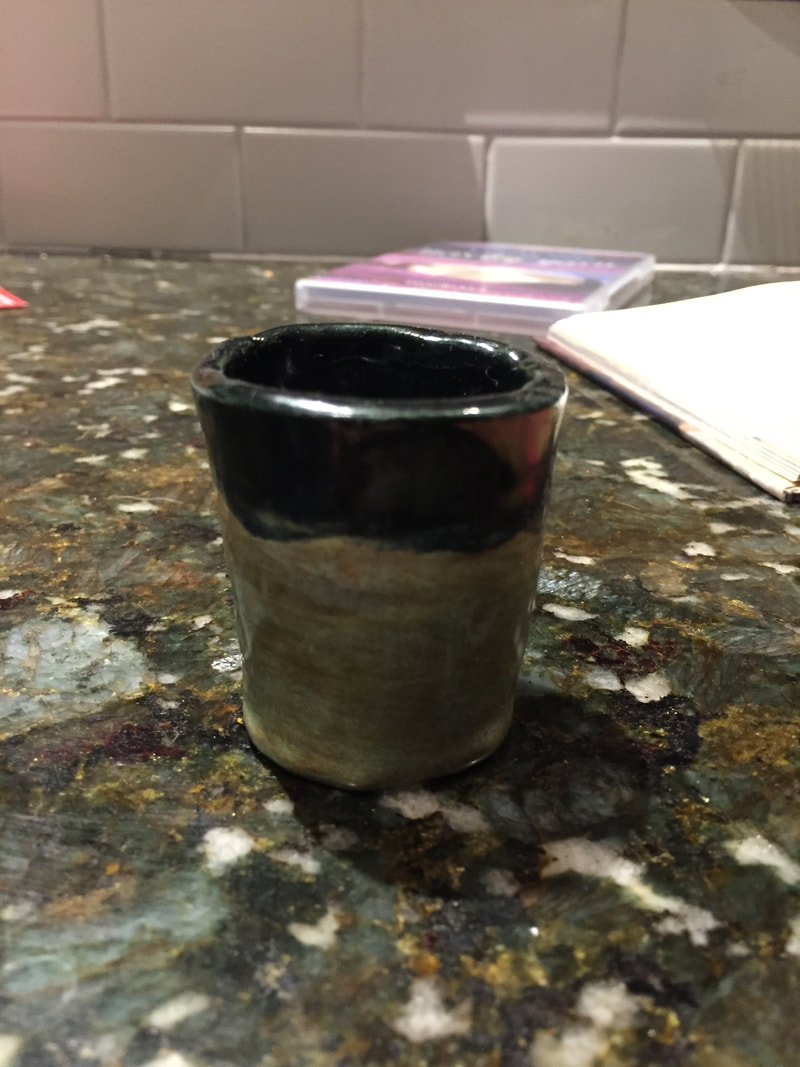 My final project used the slab method. I rolled out a flat piece of clay, cut out a rectangle and attached it to a circular bottom using score and slip. It's small size does get it labeled as a shot glass but it's more for decoration.
In class we created paintings using watercolor and acrylic paint. I chose a picture I took at . a local farm. I did most of the painting in watercolor namely the sky, tree line, grass, and road. I went in after with acrylic and did small details like the clouds, the power lines in the background, the strawberry on the sign, and the detailed grass in the front. I was planning on continuing the grass all the way, but didn't find the time, so hopefully I will finish soon and make a new post when I do. One class we did a critique where everyone gave comments and questions on peoples art. Some questions I got was how did i do the tree line: I wet the paper then mixed different colors by dipping lightly into the water, creating splotches. I was also asked how I got the color of the road with watercolor: for this I first wet the area on the paper and then diluted the black with water. 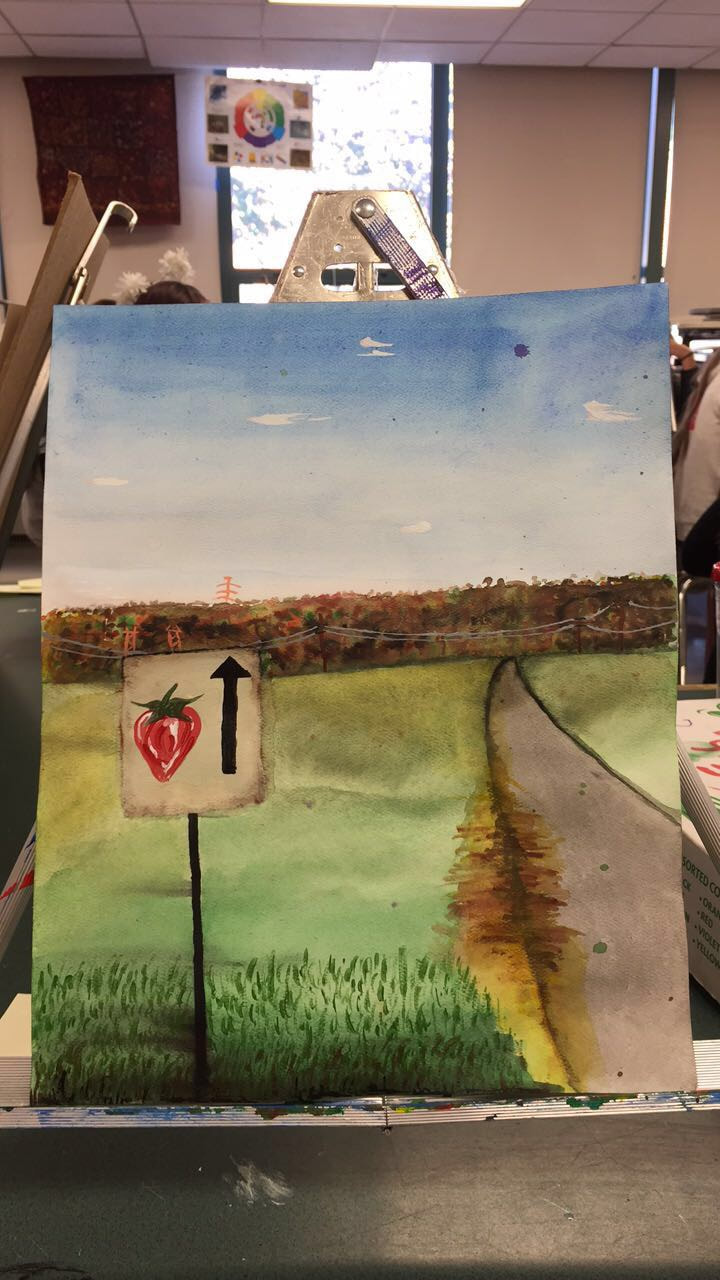 Part of the ink drawings was creating an illuminated letter using the first letter of our names. We were supposed to include images or colors and designs that represent us. I chose to do a simple design because I'm a perfectionist and enjoy when my work looks really presentable. I love designs and small details so I included a border around my calligraphic M. And underneath a design that was partly based off a picture and partly my own ideas. My own handwriting is also pretty extra as in it's slanted and accentuated so I wanted to include that in my work. 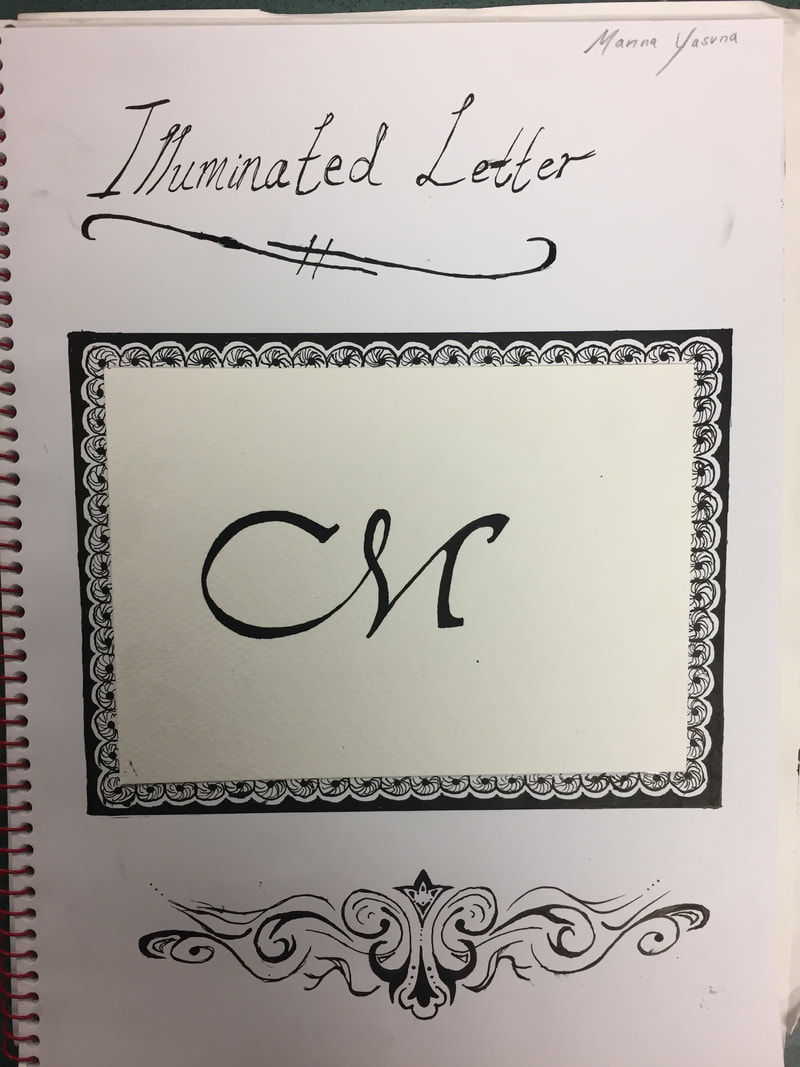 In class we did ink drawings with traditional quill pens. To draw we had to continuously dip the pen into the ink and quickly draw. During this assignment I learned about pressure and thickness as the quill was sensitive and if you push too hard then the line might become thicker than you wanted. I also had to be more careful because I can't erase ink so if I make a mistake it's staying. 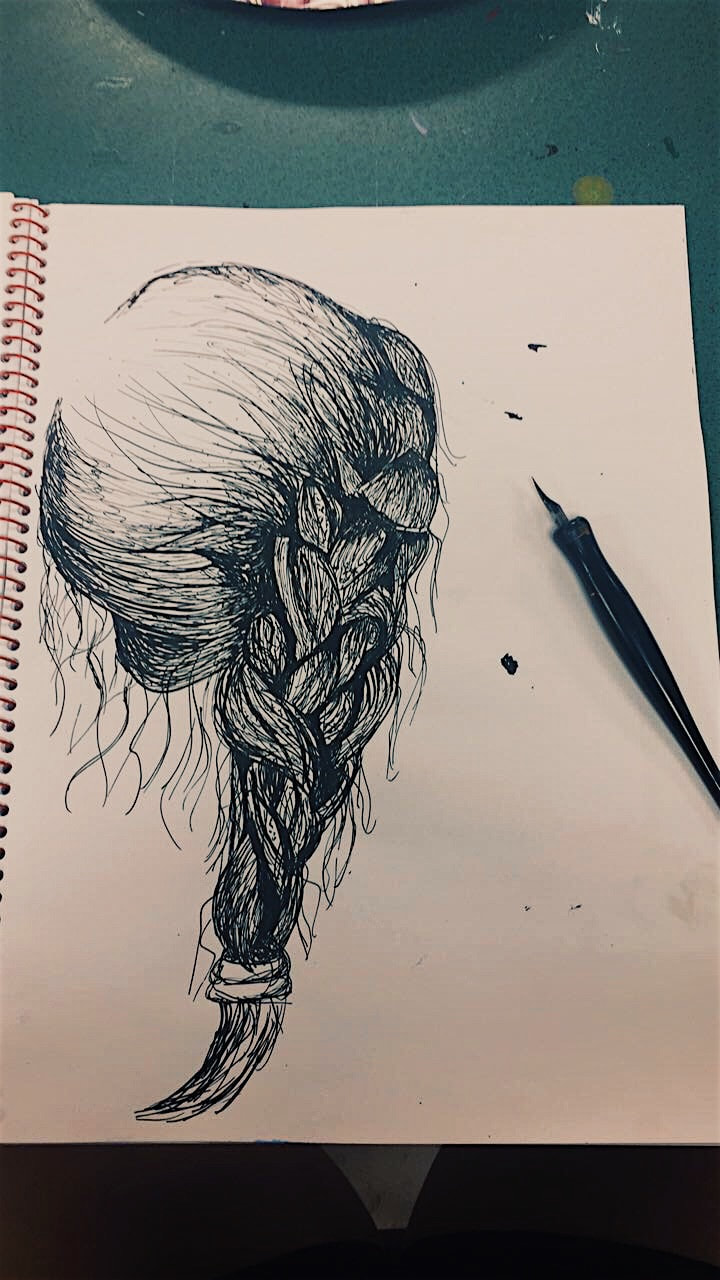 First we did 4 drawings on transparent paper just drawing simple lines of our hand. After we chose one of the drawings and attempted to make it more realistic. We traced the simple lines into our sketchbook then began shading and highlighting. 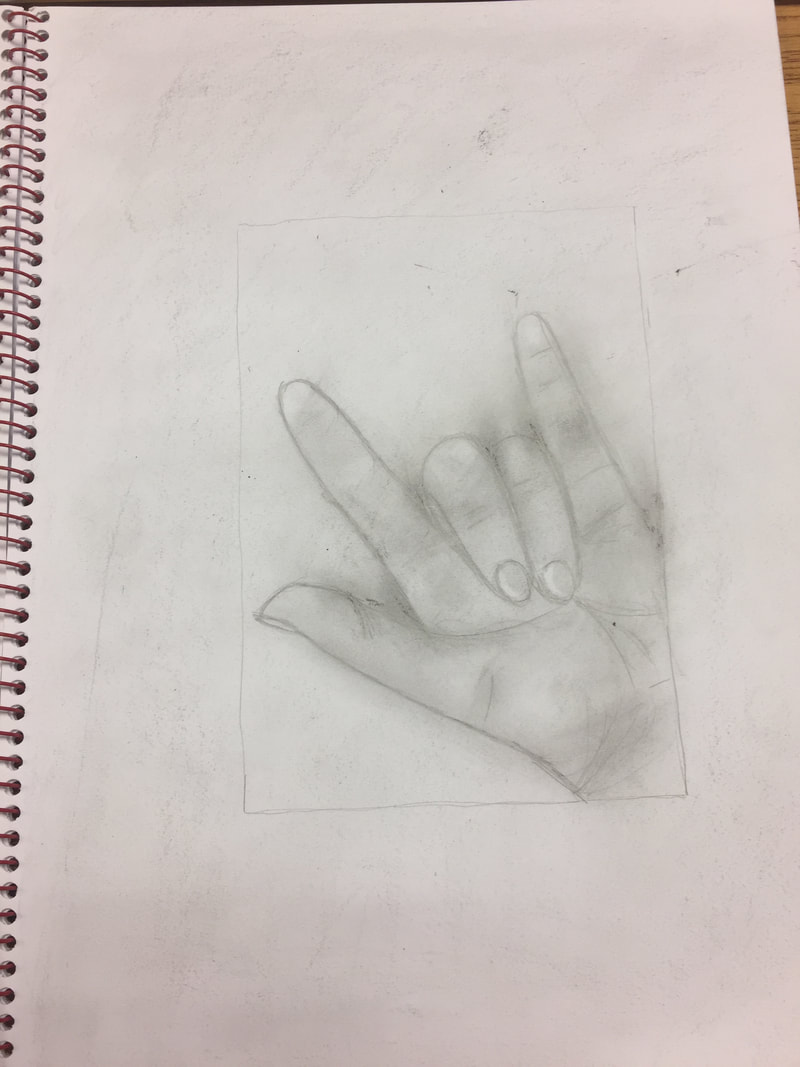 We took the classic hand and line doodle that kids do when bored in class, and upgraded it. After completing all the lines with a T-Ruler, we were challenged with then adding on contour and/or color to the hand. I took the water color approach and added shadows. I show depth by going darker to lighter and using opposing colors. 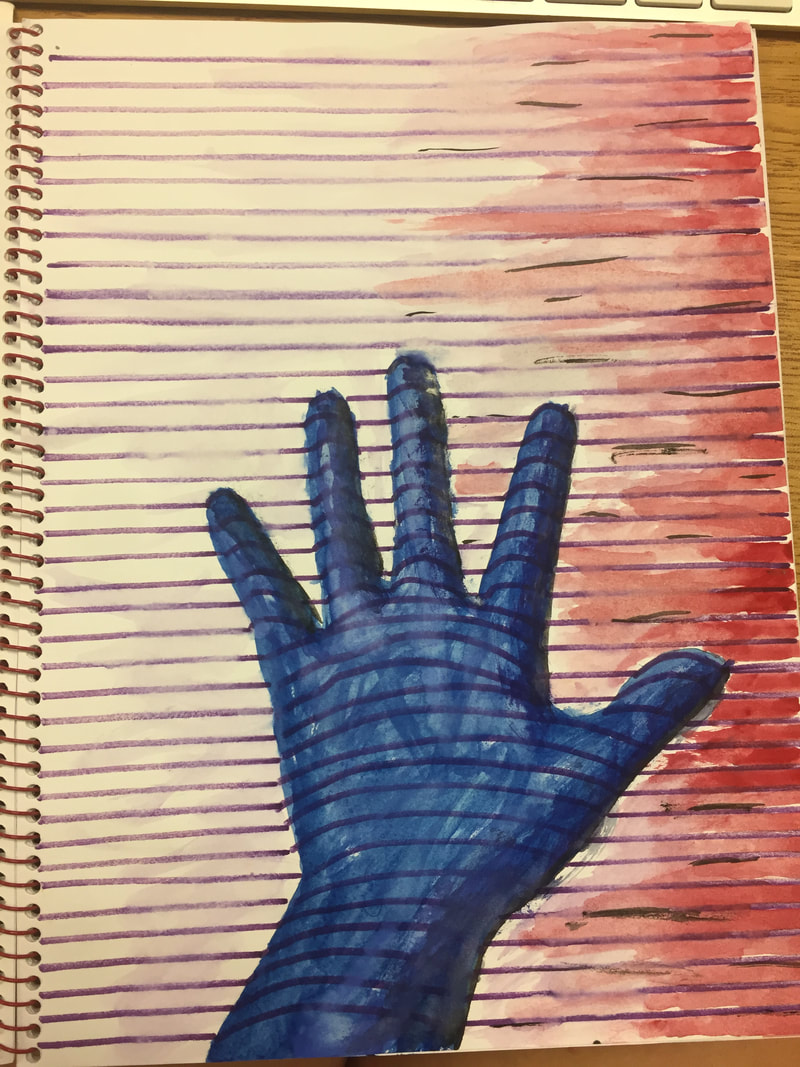 In class we were given the task of drawing an unknown picture upside down by slowly pulling out a photo of the picture from the back of our sketch book. It allowed us to sketch without worrying about what specifically we were drawing. It was also a experiment in activating the different sides of the brain. If we had been the given the photo at the beginning then our left brain, the logical side, would've told yourself that you can't do it because you don't know how. But when the photo was a mystery and we did it piece by piece, step by step it allowed our right brain, the more artistic and creative side to follow along. |
AuthorMarina, Junior at Millis High School. Archives
May 2018
Categories |
 RSS Feed
